


From Chakra to Hershey: How Your Chocolate is Made
We all love chocolate, but in most parts of the world it’s so distanced from where it starts out — a little cacao plant on a (less) little tree in someone’s chakra in Ecuador. Okay, not all chocolate is Ecuadorian chocolate. But many is and maybe it should be! Regardless - chocolate. We want to talk about how one of the most important Kichwa ancestral crops becomes one of the world’s favorite desserts.
1. Harvesting the cacao beans
In the Amazon Rainforest, there is a lot of cacao! In the Kichwa communities, many people are sustenance famers - meaning that they depend on their land for food and life. This can mean everything from yucca and maiz (corn) to medicinal plants and cacao.
The most important for this process, however, are the cacao trees. Cacao trees produce cacao pods (or the fruit), which are harvested by hand always. Each cacao fruit contains between 20 and 50 cacao “beans” which are covered in a sweet, white pulp - think like a lychee!. Shandia farmers usually use machetes to cut the ripe pods from the trees, which needs to be done carefully so that the pods don’t break open or otherwise hurt the more delicate beans inside.

Picture of a cacao pod from Berta’s chakra in Shandia. Presented alonside other delicious fruits and vegetables found in Kichwa chakras.
2. Fermentation stage
Once the pods are off the trees, they are opened to remove the beans and pulp. The pulpy beans are then placed in shallow containers, often covered with banana leaves, to ferment for several days. Although this step is sometimes skipped, it helps deepen the beans' flavor as the process of fermentation allows natural yeasts and bacteria to break down the pulp. It will also result in a much less bitter bean and a more creamy and sweet chocolate. When done, this step typically takes about five to seven days.
3. Drying the beans
After fermentation, the beans are spread out under the sun to dry. In the Amazon Rainforest, this is usually seen on the side of the road. People will allow their beans to dry in the hot Amazonian sun. Even being at the equator, it is a slow process and can take anywhere from one to two weeks. During that time, the cacao farmers have to routinely turn the beans so that they are completely dried. The drying process reduces moisture in the beans, which in turn prevent mold and prepares them for storage and transport.
In the Amazon Rainforest, this is usually the last stage that the farmer would do. After this, the farmer tends to sell the beans to local chocolate companies to be commercially made into chocolate bars. Sometimes the beans that come out of the local chakras can even go globally.

Dried beans, ready to be roasted and prepared.
4. Roasting the beans
But now comes the good part - the part that gets closer to eating and happens with Manna’s team not infrequently!
So once the beans are completely dried, they are roasted to bring out their rich, chocolatey flavor. Roasting temperatures and times can vary depending on the desired flavor profile, but typically range from 250 to 350 degrees Fahrenheit for about 30 minutes. When we do this, we will start a big (not that big) bonfire in the Shandia Ecolodge and take turns stirring until the cacao smells delicious.
The point of roasting is to not only enhance the beans' flavor but also makes it easier to separate the outer shell from the inner nib, the next step.

The ever serious art of roasting the beans.
5. Cracking and Winnowing
After roasting, it’s time to crack open the beans and remove the outer shells, leaving behind the cacao nibs. Technically, this process is called winnowing. The nibs are the edible part of the cacao bean and are packed with the final taste of the chocolate.

Winnowing those beans
6. Grinding
The cacao nibs are then ground into a thick paste called cocoa mass or cocoa liquor. This can be done using stone grinders, crank grinders, or even fancy modern machines. At Manna, we don’t have anything fancy, but we have a really nice simple machine that the lodge lets us use that grinds the nibs into the past. The grinding process is important because it releases the fat within the nibs, known as cocoa butter. This is usually where we stop at this stage when we’re doing a chocolate demonstration because we usually make fondue and it’s very yummy, but keep going to see how the bean goes from the paste to a bar!
The mixture of cocoa solids and cocoa butter is then refined further in a process called conching (for those taking notes at home), which involves continuous mixing and aeration to develop a smooth texture and enhance the flavor. This step can take several hours to days, depending on the desired quality of the chocolate.
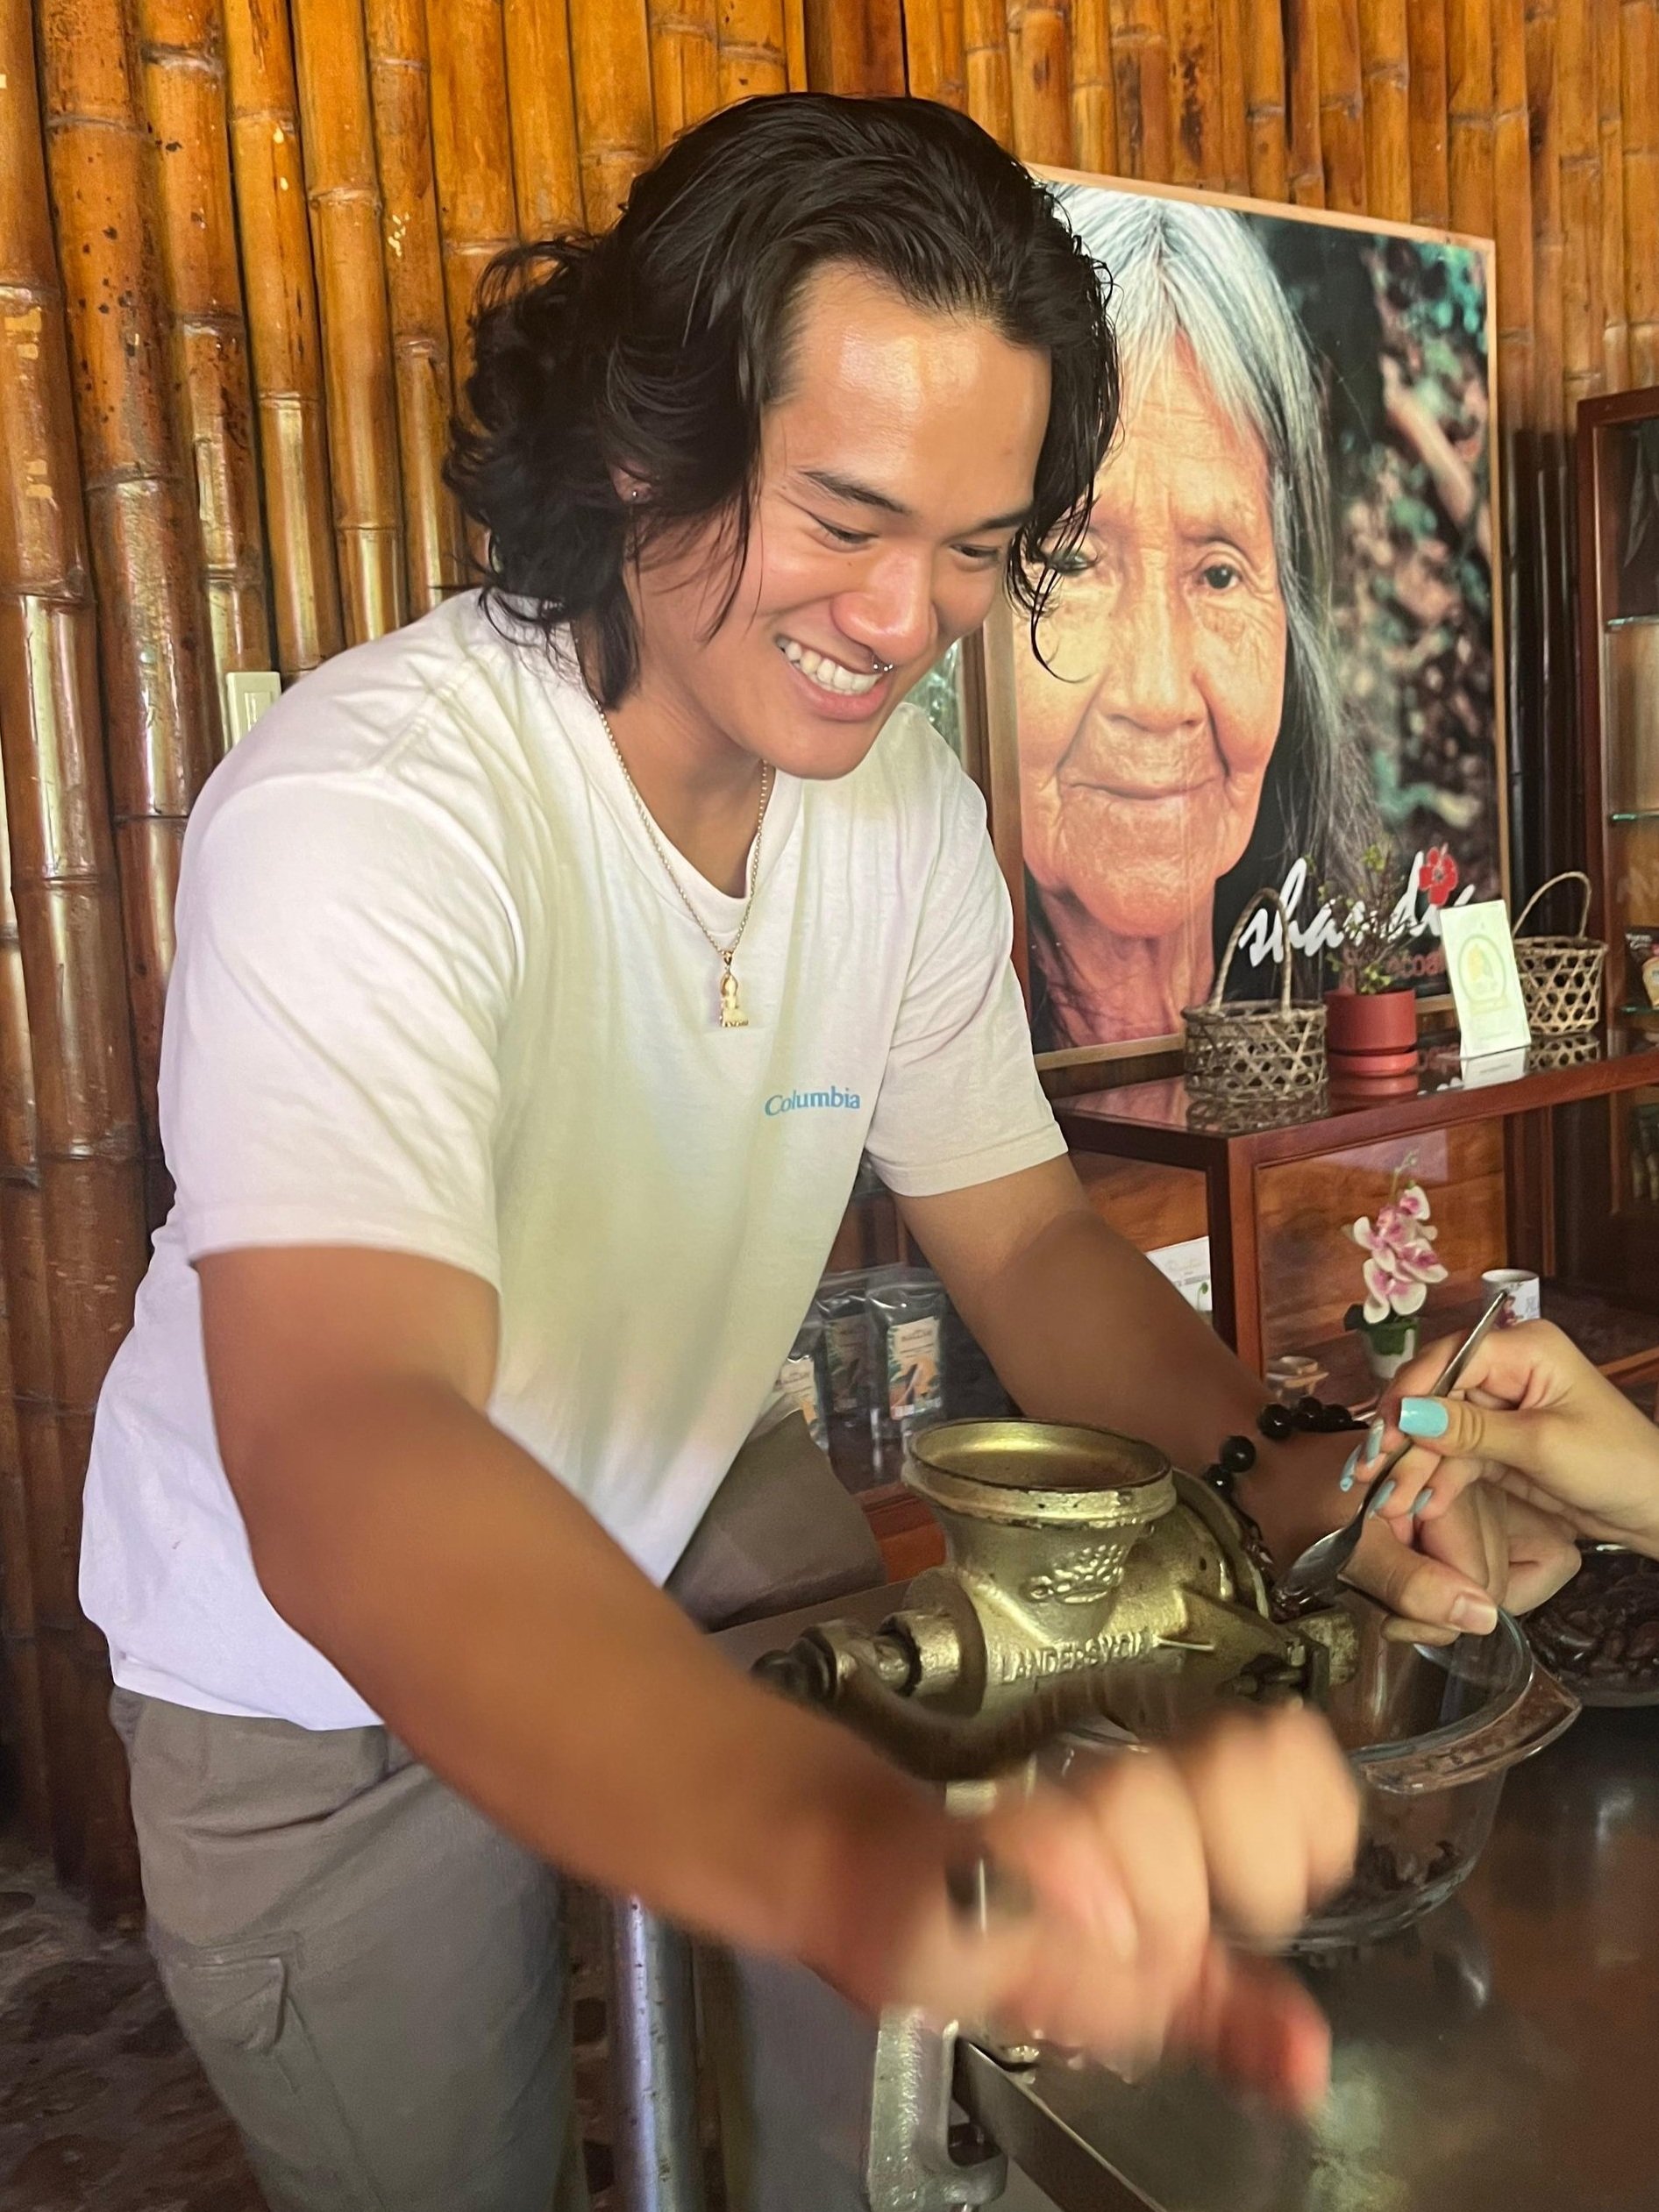
Grinding is usually a two person job
7. Tempering
Tempering is a crucial step in chocolate bar or chocolate solids making because it ensures the chocolate has a smooth, glossy finish and a satisfying snap when broken — although, again, this depends on the culture that the chocolate comes from and the desired texture (Mexican stone ground chocolate, for example has a very different texture — the process might be slightly different!) Tempering involves carefully heating and cooling the chocolate to stabilize the cocoa butter crystals. The tempered chocolate is then poured into molds to create bars or other shapes.
8. Cooling
Finally, the chocolate is cooled and solidified in molds. Once it has hardened, it is removed from the molds and is ready to be enjoyed as a solid. Our good friend at the lodge, Enrique, who leads many demonstrations and other neighbors in Shandia are avid chocolatiers who will go on to this step to make delicious truffles and other chocolates for consumption!

Or if you don’t want to wait to temper and and cool, just eat it fresh like fondue with a bit of milk stirred in. You can’t go wrong!